Today was a special day for us. My little guy turned 6! I made these wonderful from-a-box cupcakes that were dairy-free, nut-free, egg-free, sugar-free. (Believe it or not, they really are good!!) At the party this one little cutie says "no thankyou" to the cupcakes. I said, "Really? Are you sure?" and he said, "I've already had two donuts today. I can't have any more sugar." (Cheers to his mom!) I was so impressed! So I said, "Well, guess what! These don't have any sugar in them!" and with that three kids at the table pushed them away and said, "Ew! I don't want to eat these!" Oh well... You win some (1) and lose some (3).
I changed up my Recipe page and won't be posting any recipes on there from this point on but will be catching up on all the past recipes and re-posting them. They will now be accessible to everyone. Today I'm transferring over the recipe that has been on that page (for the past 6 months...oops it's July... so 7 months!) to this post.
And I have a favor to ask. If you look to the right ------------> where the "email" button is, would you please enter your email to receive subscriptions straight to your inbox when I publish new posts? Once you enter it you will receive a confirmation email. Just open the email and click to confirm. I'd love to get my numbers up a little bit and would appreciate the help! Thank you!!
Here's the Recipe. It's a favorite! I made it for our recent trip to California. It traveled well and gave us energy for both Legoland and Sea World. I hope you love it as much as we do!
Re-posted from January 2012: I found this recipe last week and immediately had to hop off my bed and run to make it. It only has a few ingredients and is super quick to whip up, making them a truly perfect recipe. BUT while they were called cookies in her blog (Chocolate Covered Katie), and they look like cookies, they do NOT taste like cookies. Once I got over the non-cookie-tasting cookies, I loved them.
I have adjusted a few ingredients and renamed the recipe to be Chocolate Chip Oatmeal Bread Bites. Because they really are like eating little oatmeal bread bites...or Chippers as Paradise Bakery might call them. They're great for a solid snack, easy to grab for on-the-go, great breakfast for kids before school (and they're sweet!). They are gluten-free AND sugar free! My kids didn't like them at first but, as with all of my clean-eating snacks, they are adjusting and just gobbled up a few of the ones that came out of the oven moments ago. So here you are...have fun trying variations of this recipe and enjoy!
Chocolate-Chip Oatmeal Bread Bites
Ingredients
· 1 1/2 cups rolled oats
· 1 cup applesauce (or a little less)
· 1/2 cup organic or all-natural peanut butter (try with almond butter too!)
· 1-2 Tbsp pure maple syrup
· 1 tsp vanilla
· 1/2 tsp cinnamon
· 1/4 - 1/2 tsp salt (depends on how salty you like it)
· Chocolate chips (I didn't measure, just poured in until I was satisfied)
Directions
· Preheat oven to 350 degrees
· Mix all ingredients together in one bowl. This is a moist dough. I kept adding more oatmeal to make it a little stiffer until I got to the amount I listed above.
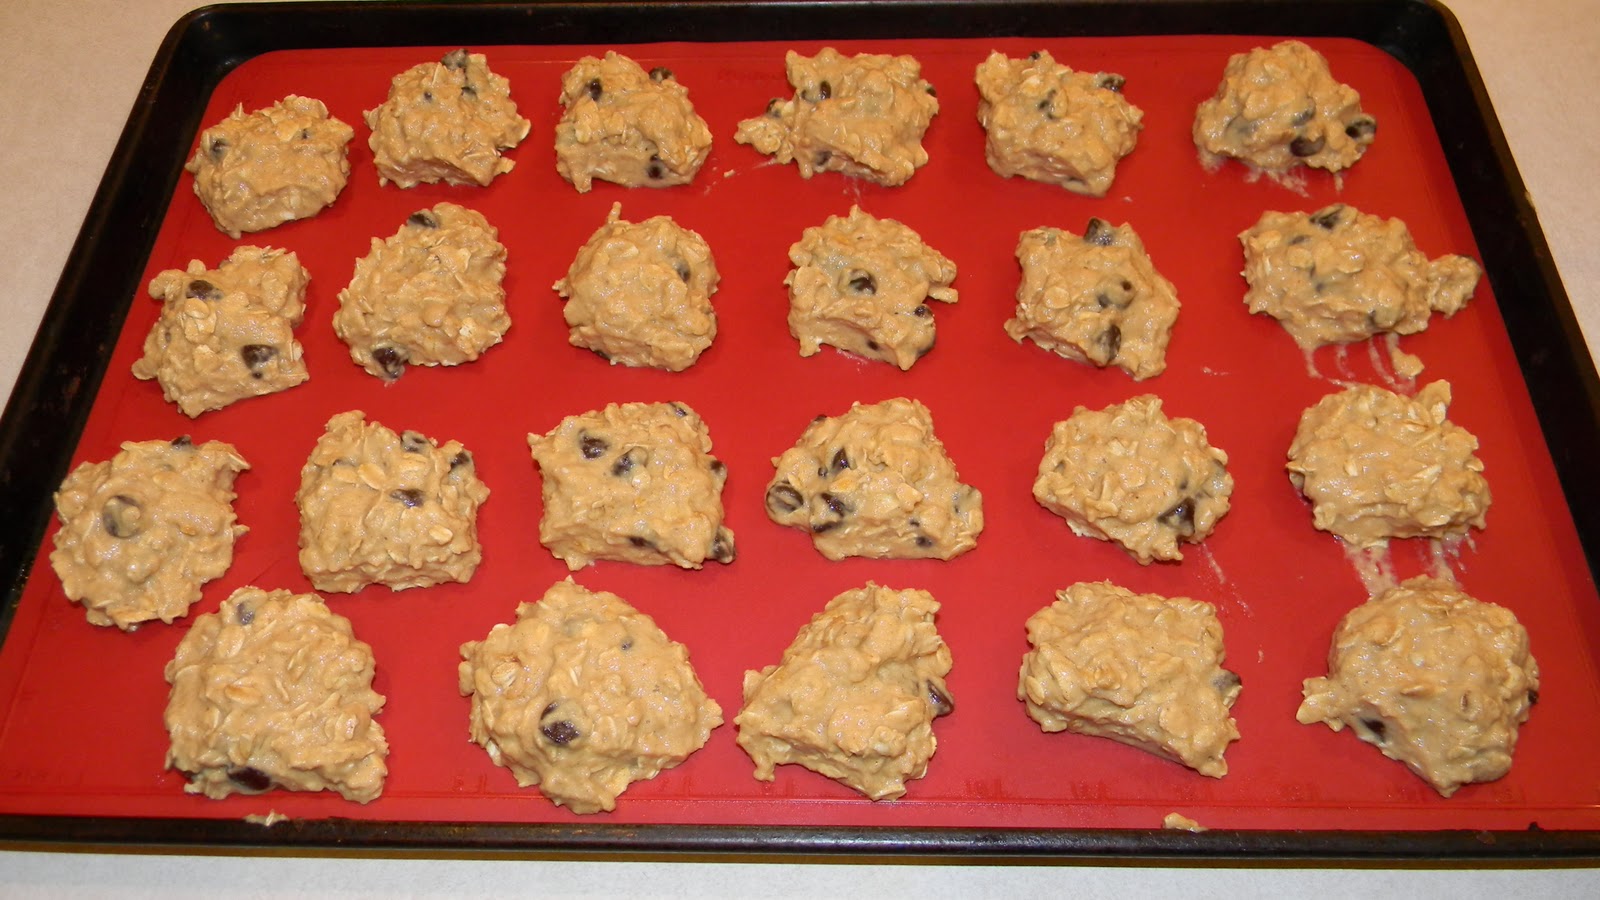
· Drop by spoonfuls onto baking sheet
· Bake for 30 - 35 min (less if you like moister cookies, more if you want a more crisp top)
· yields 2 dozen
Isn't that the easiest recipe ever! You can do raisins/craisins instead of chocolate chips. Add in some chopped nuts. Change out 2 over-ripe mashed bananas for the applesauce for more of a banana bread taste. So many options! This is super healthy. Add in 1 T ground flax-seed for more of a health kick (ooh - why am I just thinking of that now? I'm definitely doing that next time!) Take out the maple syrup if you want it less sweet.
I hope you love these as much as I do!
|
|
With clean-eating recipes, food doesn't expand as it bakes. Feel free to pack them on the tray! They'll come out exactly the same size that you plopped them on at. (pre-baking pic)
|
|
|
Post-baking picture. They look pretty much the same.
Bake 5 min longer if you want them a little more browned on top.
|